One of the most common questions I get while streaming is, “How do I master edge highlighting?”
For those of you new to the hobby or who are not in the know, edge highlighting is a technique used when painting miniatures to add definition and visual interest to your model. It is often times used on raised surfaces on a model.
It creates more depth and dimension to your model and creates the illusion of light bouncing off those surfaces. Plus, it is one of the easier ways to draw the eye of the beholder to a particular area when your batch is painting miniatures, for example.
In the real world, whenever light hits an edge, it tends to combine all that light and direct it back to your eyes.
In almost all cases, those colors will be brighter to your eyes. While the colors surrounding it or are farther or away from the edge tend to be darker. In miniature painting, this technique is used to simulate that effect and add realism to the model.
Applications
Edge highlights can be applied to armor edges, cloth folds, weapon edges; you name it!
The goal of the exercise is to emphasize the shape and contours of said object.
Precision, patience, and a steady hand are key when doing edge highlighting when miniature painting.
My go-to brush for edge highlighting is a ‘0’ fine-tipped brush. A crucial step in the process is to consider the angle and direction of the light source when deciding to place the highlights.
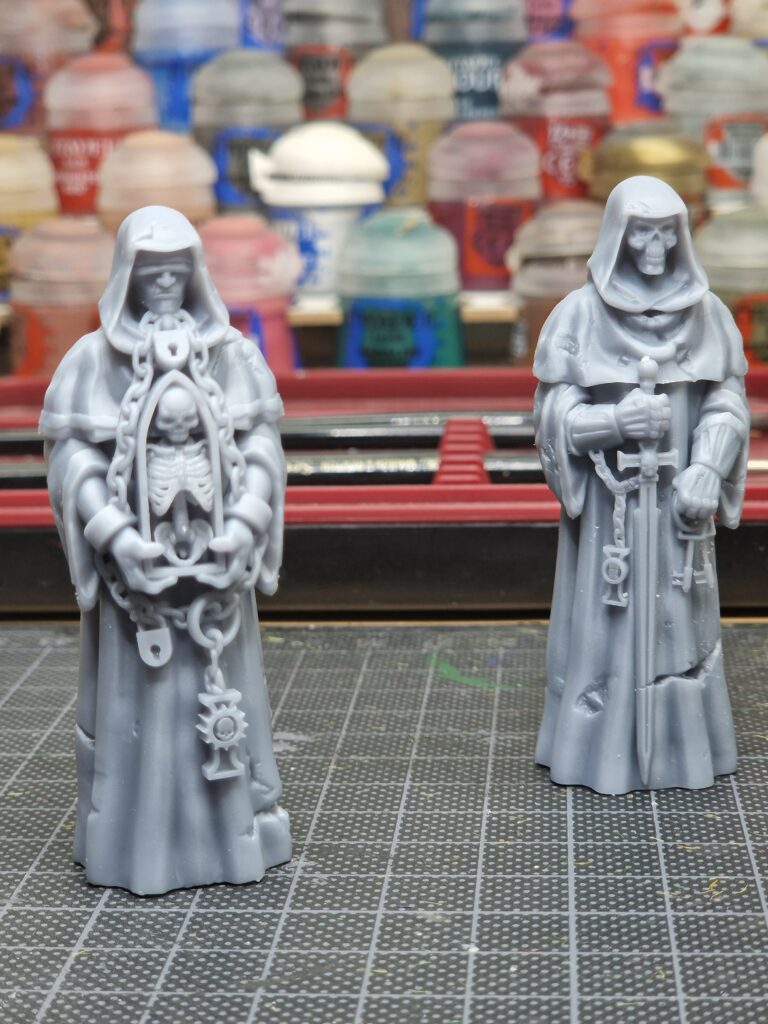
The best way to practice edge highlights is to find a model with a lot of panels, like a space marine or T’au model. Rock Ogres or Metal Golems should work as well.
Edge Highlighting Citadel
To help you along the way, here’s a recipe for paints by Citadel you could use and a suggestion for a brush:
- Citadel Mephiston Red
- Citadel Wild Rider Red
- Citadel Nuln Oil
Brush would be the Citadel Layer S. Inexpensive and, if taken care of, can bring you a long way. Make sure it has a fine point!
Base the entire model in Mephiston Red, and once it’s dried, cover the entirety of the model in Nuln Oil. This will create a very dark red. We’re doing this so you can properly see the result of your edge highlight.
Once everything is fully dried, relax, take deep breaths, and make sure you are comfortable. Hold your model with one hand and rest your brushing hand on your other hand. Lock your elbows in your stomach.
Angle the model in such a way that it would seem like only the outer hairs of your brush would touch the model. Like this:
Now, before touching the model with your brush, make sure you’ve unloaded it a bit on your hand, palette, or glove. This means that when you’ve applied paint to your brush, you make a stroke on whichever surface is convenient. This removes a bit of moisture and pigments and will help you maintain more control when depositing paint on the miniature.
Now gently place the brush against the edge. Slowly move the brush by moving your fingers. You can do this with intervals. This is the easiest way to get started and get used to edge-highlighting.
And next step would be to do it without raised areas!
Let’s discuss some other general tips for edge highlighting as well:
Progressive Highlighting
Generally, a single-edge highlight is not enough to get the required color and design in your miniature. Even if you are going for a single-edge highlight, you should use a brighter color.
But the best results can be achieved by adding the edge highlights in multiple layers so that the color you choose is one shade up from your first highlight. Repeat this process until the edge highlights are closer to the right color and the overall appearance of the model fulfills your expectations.
Importance of Blending
By now, you must be familiar with the significance of using thin paints for blending highlights. You must be very careful while dealing with thin paint and make sure that there is not too much paint on the brush.
A good way of avoiding this issue is using a towel to wipe the brush and get rid of the excess paint before you bring it near the model. Once you have completely blended the paint, you will see that the highlights will be significantly more smoother and better looking.
Handling Tricky Areas
When it comes to handling complicated areas of the model, you have to rely on a variety of brushes to add the edge highlights properly without messing up the entire miniature. It is also possible that you might want to add highlight in an area where your particular brush is not reaching properly.
In such a situation, it is important to have plenty of experience in using small brushes to reach tricky areas. Keep in mind that it is not necessary to use very expensive brushes. Instead, there is a high chance that you can find an affordable brush set.
Ultimately, it all comes down to your experience and patience, so make sure you have plenty of practice using different brushes before you attempt edge highlighting.
Before you start your journey of edge highlighting, you should know that many new painters make the mistake of trying to add edge highlights in their every model. However, it all varies from model to model. You don’t have to highlight every single edge, so you must consider the specific requirements and appearance of the model.
Good luck!
FAQs
What do you need for painting miniatures?
You’ll need miniatures, acrylic paint, brushes, a water container, primer, paint thinner, sealant, and primer to get started with miniature painting.
What kind of paint do you use on miniatures?
Acrylic paint is the most commonly used paint on miniatures because it dries quickly, and also beginners are able to handle it easily. It is available in a wide range of colors as well.
Is it easy to paint miniatures?
Painting miniatures is a challenging task, but if you are really interested in it, you can become quite good at it with practice over the passage of time.
Is there money for painting miniatures?
Yes, you can earn money by painting miniatures for others or selling your work.
